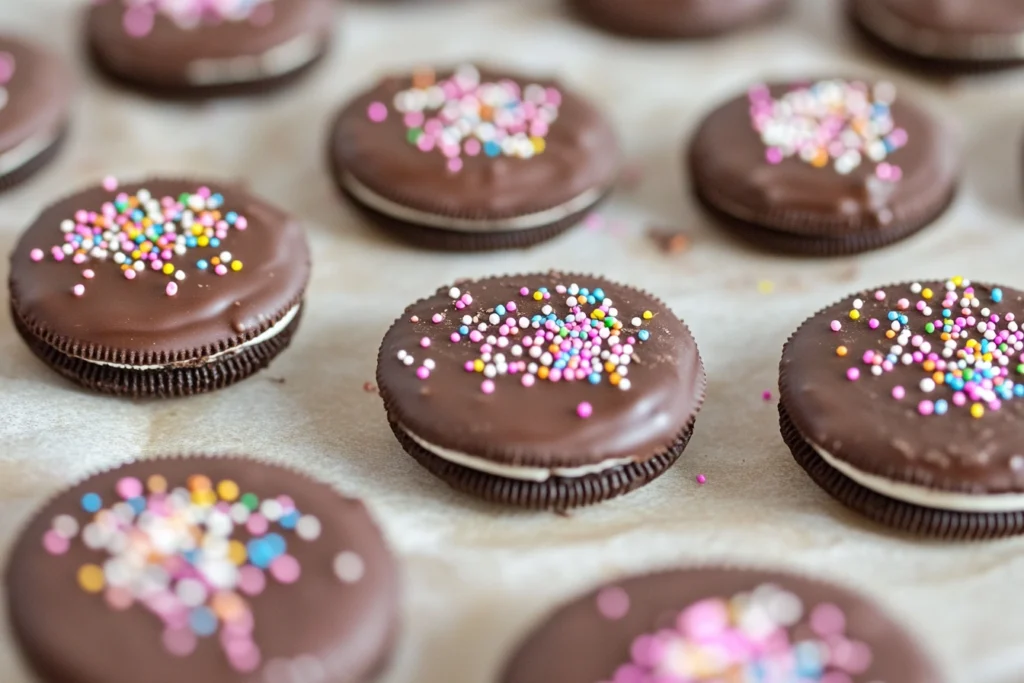
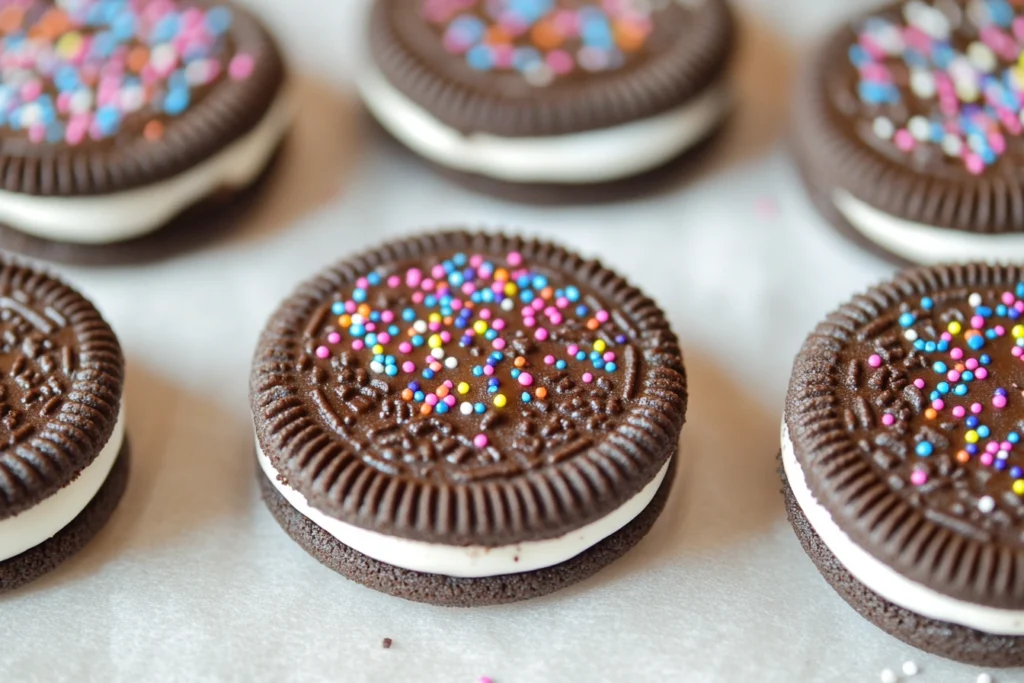
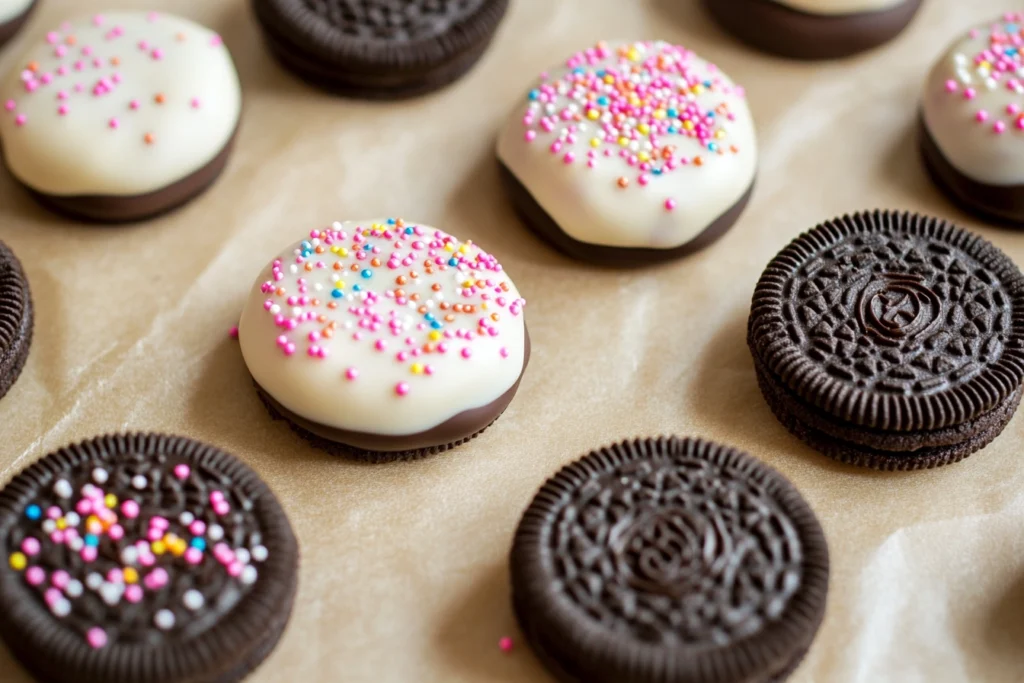
Chocolate-covered Oreos are a simple yet impressive treat that you can make at home without any fancy tools. While some might think a mold is necessary to get that perfect chocolate coating, you can easily dip Oreos in chocolate without a mold. This approach is not only quicker but also more accessible for most home bakers. Whether you’re making them for a party, a holiday treat, or just a sweet snack, chocolate-covered Oreos are sure to be a hit.
In this article, we’ll walk you through the step-by-step process of dipping Oreos in chocolate without using a mold. Plus, we’ll share tips on decorating, storing, and troubleshooting common issues. Let’s dive in!
Why You Don’t Need a Mold for Dipping Oreos

You might assume that you need a mold to achieve perfectly dipped chocolate-covered Oreos, but that’s a common misconception. While molds are convenient for mass production, they’re not essential for homemade treats. In fact, using a mold can add extra time and cleanup. Instead, you can dip Oreos using simple tools you likely already have in your kitchen.
Using a fork, toothpick, or skewer can give you just as smooth and polished a result without the hassle. These methods allow more flexibility and control when dipping. With a few key tips and techniques, you can achieve beautifully dipped Oreos without the need for specialized equipment.
For more tips on working with chocolate, check out this guide on how to melt chocolate for dipping, which will help ensure your chocolate stays smooth and glossy throughout the process.
Tools and Ingredients Needed for Dipping Oreos

Before we get started, let’s gather everything you’ll need.
Essential Ingredients
- Oreos: You can use classic, flavored, or double-stuffed Oreos depending on your preference.
- Chocolate: Choose between dark, milk, or white chocolate. High-quality baking chocolate or candy melts work best for dipping.
- Toppings: These can include sprinkles, crushed nuts, edible glitter, or even crushed candy for a fun, decorative touch.
Tools to Use Instead of a Mold
If you don’t have a mold, don’t worry! Here’s what you’ll need instead:
- Fork or Dipping Tool: A fork works wonderfully to hold the Oreo while dipping it into the chocolate. It allows you to tap off the excess chocolate for a clean finish.
- Toothpicks or Skewers: These are helpful if you want to avoid fingerprints or need more precision.
- Parchment or Wax Paper: This is essential for placing the dipped Oreos while they set, preventing them from sticking to the surface.
With these tools and ingredients, you’re ready to start dipping without needing a mold. If you’re unsure about the best chocolate to use, check out this article on the best tools for DIY chocolate-covered treats for recommendations.
Step-by-Step Guide to Dipping Oreos Without a Mold

Now that you have all your ingredients and tools ready, let’s dive into the process of dipping Oreos in chocolate without a mold.
1. Melting the Chocolate
The first step in any chocolate-dipping process is properly melting the chocolate. Here’s how you can do it:
Double Boiler Method
This method ensures the chocolate melts evenly without burning. Place a heatproof bowl over a pot of simmering water. Add your chocolate to the bowl and stir frequently as it melts. This method helps maintain a consistent temperature and prevents overheating.
Microwave Method
For a quicker option, you can melt chocolate in the microwave. Place the chocolate in a microwave-safe bowl and heat in 30-second intervals, stirring in between each round, until the chocolate is fully melted and smooth. Be careful not to overheat the chocolate, as it can burn easily.
To ensure your chocolate is the right consistency for dipping, you can add a small amount of oil or butter, which will help it stay smooth and glossy.
2. Dipping Techniques Without a Mold
Once your chocolate is melted and ready, it’s time to start dipping the Oreos. Here are some effective techniques you can use:
Using a Fork
- Hold the Oreo with a fork and dip it into the melted chocolate.
- Submerge the Oreo completely in the chocolate and then lift it out.
- Gently tap the fork on the side of the bowl to let the excess chocolate drip off. This creates a smooth, even coating.
- Slide the Oreo off the fork onto a piece of parchment or wax paper.
Inserting Toothpicks
- Insert a toothpick or skewer into the cream filling of the Oreo.
- Dip the Oreo into the chocolate while holding the toothpick, ensuring it is fully covered.
- After dipping, gently tap the toothpick on the side of the bowl to remove excess chocolate.
- Place the Oreo on parchment or wax paper and carefully remove the toothpick.
By using these simple tools, you can easily achieve a smooth and clean dip without needing a mold.
3. Placing and Setting the Oreos
After dipping your Oreos, you’ll need to let the chocolate set properly. Here’s how to do it:
- Place the dipped Oreos on parchment or wax paper to prevent sticking.
- Allow them to set at room temperature or in the refrigerator if you want them to set faster.
- If you notice any uneven coating or cracks, you can dip them again for a more polished look.
Customizing Your Chocolate-Dipped Oreos
One of the best parts of making chocolate-dipped Oreos is the ability to customize them. From toppings to different chocolates, there are countless ways to personalize your treats.
Popular Toppings and Decorations
Once you’ve dipped your Oreos, you can decorate them with a variety of toppings:
- Sprinkles: Use themed sprinkles for holidays or special occasions.
- Crushed Candy or Cookies: Add a crunchy layer by sprinkling crushed candy or Oreos on top of the chocolate.
- Edible Glitter: For an elegant touch, edible glitter works great on white chocolate-dipped Oreos.
Coloring and Flavoring Chocolate
For special events or holidays, you can easily color your chocolate or add extra flavor.
- Food-Safe Coloring: Add food-safe coloring to white chocolate to create different colored coatings. Use pastel colors for Easter or red and green for Christmas.
- Flavored Chocolate: You can enhance the chocolate with flavorings like mint, orange, or coffee by adding food-safe extracts.
Double Dipping and Drizzling Techniques
For extra flair, you can double-dip your Oreos or drizzle them with a contrasting chocolate.
- Double-Dipping: First, dip the Oreo in one type of chocolate (e.g., milk chocolate), let it set, and then dip it again in another (e.g., white chocolate) for a layered look.
- Drizzling: Using a piping bag or spoon, drizzle a different type of melted chocolate over the dipped Oreo for a decorative finish.
Advanced Tips for Dipping Oreos Like a Pro
While dipping Oreos without a mold is easy, there are a few advanced tips that can help you achieve professional results.
How to Achieve a Smooth, Glossy Finish
To get a smooth, glossy finish on your chocolate-covered Oreos, consider tempering your chocolate. Tempering involves carefully melting and cooling the chocolate to specific temperatures, which prevents it from developing streaks or a dull finish.
Avoiding Common Mistakes
Here are some common mistakes and how to avoid them:
- Overheating Chocolate: Chocolate can burn easily if overheated, so always melt it slowly and stir frequently.
- Oreo Breakage: If the Oreo breaks while dipping, try using a gentler touch with your dipping tool. You can also freeze the Oreos before dipping to make them sturdier.
- Uneven Coating: Tap off any excess chocolate after dipping to ensure a smooth, even coating.
Storing and Gifting Chocolate-Covered Oreos
Once your Oreos are dipped and decorated, you can store them for later or package them as gifts.
- Storing: Place the chocolate-covered Oreos in an airtight container and store them at room temperature or in the refrigerator, depending on how long you plan to keep them.
- Gifting: Use decorative boxes or tins to package your Oreos for a thoughtful and beautifully presented gift. For more inspiration, check out these creative gift-wrapping ideas.
FAQs
Do you need a mold to make chocolate-covered Oreos?
No, you don’t need a mold. You can use simple tools like a fork, toothpick, or skewer to dip the Oreos into the chocolate and achieve a smooth finish.
How do you keep chocolate from clumping when melting?
To avoid clumping, melt the chocolate slowly over low heat and stir frequently. Adding a small amount of oil or butter can also help keep the chocolate smooth.
What can I use instead of a mold to dip Oreos?
Instead of a mold, you can use a fork, toothpick, or skewer to dip Oreos in chocolate. These tools provide control and allow for easy dipping and even coating.
How long should chocolate-covered Oreos cool before serving?
Let the chocolate-covered Oreos cool at room temperature or in the refrigerator for about 30 minutes, or until the chocolate is fully set.
Conclusion for How to dip Oreos in chocolate without a mold
How to dip Oreos in chocolate without a mold ? Dipping Oreos in chocolate without a mold is easy, fun, and doesn’t require any special equipment. With just a few basic tools like a fork or toothpick, you can create beautifully dipped Oreos that look and taste great. Whether you’re making them for a party or as a gift, this method ensures you can achieve professional-looking results without the need for a mold.
So grab some Oreos, melt some chocolate, and get creative with your toppings and decorations. You’ll be amazed at how simple it is to make chocolate-covered Oreos that everyone will love!

